


Interior painting is by far the most popular do-it-yourself home improvement activity, and it's easy to see why. There's no better, more affordable way to freshen up rooms than with a new coat of paint. Plus, painting isn't terribly difficult and doesn't require specialized training. Any able-bodied homeowner can paint rooms—all you need is a little patience, practice, and some helpful advice for your interior decorating ideas.
These painting tips can help even novice DIYers achieve professional-quality results. Follow these suggestions and you'll not only paint better, you'll work faster and neater, too.
Step 1 – Prepare the Surface
A successful paint job starts with properly preparing the surface you're going to paint. That means you must scrape, sand, patch, and fill every hole, crack, dent, and surface imperfection. This isn't the fun part of painting a room, but it is the most important part. No paint, regardless of its cost, color, thickness, or manufacturer's claims, will hide a pockmarked or cracked surface.
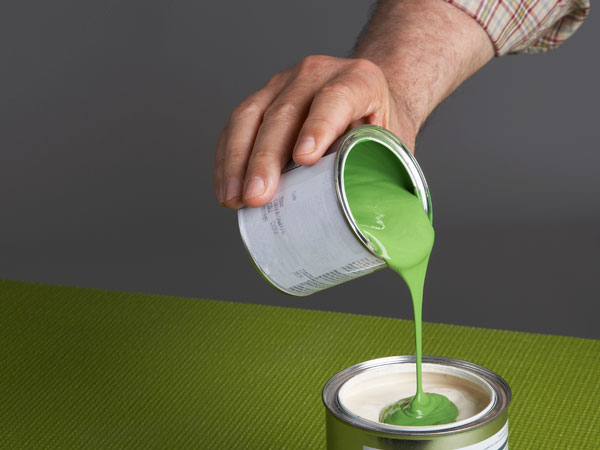
Step 2 – Tint the Primer
Priming walls and ceilings is mandatory whenever you're painting new drywall or painting over a dark color. But it's smart to prime any time you paint. Primer serves three main functions. First, it blocks stains from bleeding through. Second, it allows one-coat coverage for the paint. Third, and most important, it improves paint adhesion, which greatly reduces blisters and peeling.
Professional painters will often tint the primer toward the finished color by mixing a small amount of topcoat paint into the primer. This trick greatly enhances the ability of the topcoat to completely hide the primed surface.
You can now buy paints that contain primers, but nothing covers as well or improves adhesion as much as a dedicated primer.
Step 3 – Canvas over Plastic
Plastic drop cloths provide an inexpensive way to protect floors and furnishings from paint spatters, but you'd be much better off investing in canvas ones. Canvas is extremely durable and rip-resistant. It lays flat and presents much less of a tripping hazard. Canvas absorbs paint drips, unlike plastic drop cloths, which become slippery when spattered with paint. Canvas drop cloths can be easily folded around corners and doorways, something that's impossible to do with plastic sheeting. Plus, most plastic drop cloths must be tossed out after using. Canvas drop cloths will last a lifetime.
Step 4 – Brush before Rolling
For many, the concept of brushing the corners before or after rolling the walls can be confusing. However, you must remember to brush before rolling. Carefully use a high-quality brush to paint about an inch out from corners, the ceiling, and the baseboard. These are areas that a roller cannot reach. Use the roller after brushing in order to flatten out any brush marks that have gone further out than the depths of the corner. This will leave you with a smooth flat surface.
Step 5 – Reach for an Extension Pole
Forget the stepladder and get yourself a telescoping extension pole for your paint roller. Extension poles come in various lengths, up to 18 feet long, but one that extends from 18 to 36 inches is good enough to paint rooms with 8- to 9-foot-tall ceilings. Check that your paint roller's handle has a threaded hole in the end, then simply twist it onto the extension pole.
When shopping for extension poles, look for one that has a soft, nonslip grip and a rigid metal core. And be sure the threaded end of the pole is also metal. All-plastic handles are too flexible, which makes them hard to control.
Step 6 – Paint Grid not Tray
Rolling paint from a paint tray is a futile, messy proposition. Here's a faster, neater, better approach: Roll paint directly from a 5-gallon bucket using a paint grid. A paint grid is simply a rectangular, rigid metal or plastic screen that hooks onto the rim of the bucket. Fill the bucket about halfway with paint, then hang the grid inside the bucket. Dip the roller sleeve into the paint, and roll it against the grid to remove excess paint. It's that easy. At the end of the day, drop the grid into the bucket and snap on the lid.
Step 7 – Overnight Storage
If you're done painting for the day but still have more to do tomorrow, you don't have to go through the laborious process of cleaning your paintbrushes and paint-roller sleeves. Instead, simply brush or roll off the excess paint, then tightly wrap them in plastic food wrap. If necessary, double up the plastic to seal out any air, then place the wrapped brushes and roller sleeves in the refrigerator to keep them fresh. This might sound crazy, but it works—it'll keep the paint from drying overnight and rendering your equipment unusable.
The next day, simply remove the gear from cold storage 30 minutes prior to painting, and it'll be supple and ready for use. Properly wrapped paintbrushes and roller sleeves can be stored this manner for several days if you're tackling a really ambitious job.
These are just a few tips that will making your painting experience much better than you could have expected! Follow these 7 steps and you will end up with walls that are painted to perfection!
Remember to take your time doing the tedious prep work—it pays off by making your painting project run more smoothly and results in a better paint job.