


For the past few years, summer temperatures have broken all records. This year also promises to be a very warm summer, with temperatures expecting to reach and exceed previous highs. So, how do you prepare for it?
On the surface level, there is nothing wrong with rising temperatures. After all those intense winter months, the balmy weather is a welcome relief. It would be simply fantastic to see the uninterrupted blue skies, and enjoy a fun-filled day at the beach. But rising temperatures can also heat up the interior to unbearable levels, especially when the houses are designed to keep the heat in.
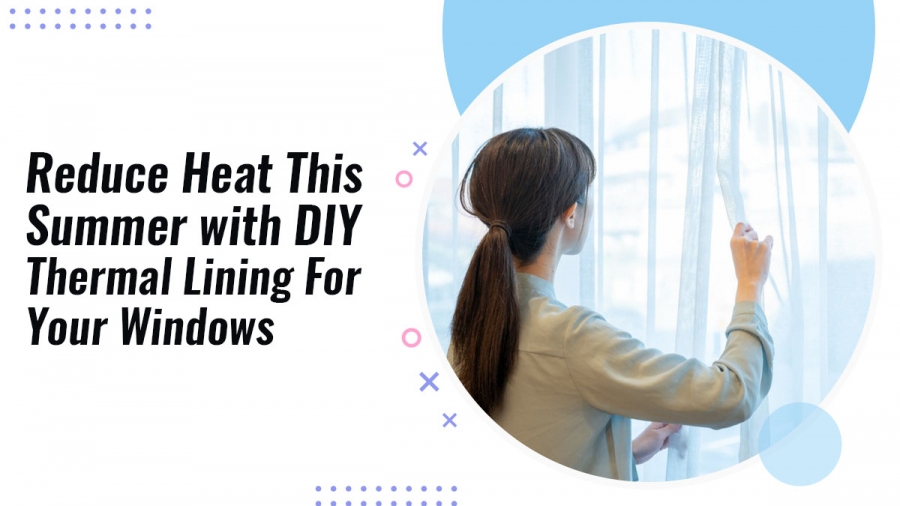
Windows are the primary source of heat-loss or gain. As the summer temperatures makes it necessary to let the breeze in, the open windows also cause the cool air to escape through the open windows. One way of addressing this problem is by covering up the window with solutions that trap the cool air in and stop the warm air from getting inside. However, that does not mean having to go for costly means to keep cool. Just enhance the insulation capacity of your existing blinds and that will do the trick. Adding a thermal lining to your blinds is one such method, and it will benefit you in both winter and summer.
Why Are Thermal Linings Such a Great Idea?
Thermal linings are thickly woven fabrics that reflect back the heat that fall on them. As these linings usually go on the side that is facing towards the outdoors, they are very effective in reflecting the sun heat back. The thick material also helps keep the cool air in the room. So, essentially it has a dual effect; the heat gets reflected back outside and the cool air gets trapped in the room. This way, you will also save on your energy bills.
With these blinds you will save energy, while keeping the interiors comfortable throughout the summer.
Different Types of Thermal Linings
Thermal linings are usually available in two different variations.
Coated Linings: A coated thermal lining has a thermal coating on one side. This coating stops the air from passing through the blinds. This coating is usually made from acrylic material. Usually, a thermal lining has a single layer. More than one coating would make the lining a blackout one, which would also block the light. With a single coating, the thermal lining would provide partial light blockage.
Brushed or Raised Linings: These linings are made from cotton materials and give the thermal lining a soft and raised look on one side. However, these linings are not as good in stopping the airflow.
Let’s look at how to add thermal lining to blinds.
How to Add Thermal Linings to Shades
Roller shades are the most common types of shades that would benefit from a thermal lining. For this reason, we have selected roller blinds as the example.
To add a thermal lining to your shades, you will have to take your Shade down. Refer to the instructions provided by your manufacturer for this step. Most roller shades are attached to the bracket with the help of metal tips. Push the tips out and the shade should pop out. Once you have removed the shade from the brackets, lay it down on an open surface and roll it out to display the entire length. Remember to keep the side you will work on facing up. Now follow the steps provided below to attach a thermal lining to a roller shade.
Step 1: Measure the length. For this, measure the shade at the right, left, and center. You will take the longest measurement as your reference.
Step 2: Measure the width. For this, measure the blind at the right, left, and center. You will take the longest measurement as your reference.
Note: Another way of going about it is placing the lining on top of the blind and cut out an exact measurement.
Step 3: Cut out the blackout lining according to the measurements you had taken down in the step 1 and step 2.
Step 4: Now you will have to apply fabric glue to the edges of the thermal lining. Put the glue on the edges of the roller blind. Put the glue as vertical strips all across the shade, evenly spread out along the width of the shade.
Note: Instead of doing the glue strips all at one go, just put in 6 inches of glue strips, attach the shade, do the next 6 inches and so on.
Step 5: Now you need to attach the thermal lining to the shade. Align the bottom edge of the lining to the bottom edge of the shade. Slowly attach the lining to it.
Step 6: Press down on the lining to make sure that it is firmly attached to the roller shade.
Step 7: Leave the shade open for at least two hours to allow the glue to dry. Step 8: Roll up the shade and put it back up on to the brackets.
Your new energy-efficient shade is all ready for use. So, just an afternoon’s worth of effort will give tremendous peace and comfort throughout the summer. With these linings in place, your will notice that the air conditioner is working less to keep the temperature down. Along with saving energy, you will also be able to keep the sun’s glare out. The thermal coating will ensure that only a fraction of the heat makes its way into the room. Now you are all set to face the worst of the heat waves, with minimum of effort and expenditure.
Disclaimer: Please follow these instructions at your own risk. ZebraBlinds takes no liability for any issues or damaged caused through following DIY methods. Since all blinds and shades are different, we always recommend checking with your blind manufacturer or retailer first before making any modifications to your blinds. As well, if you are uncomfortable on your own, look for the help of a professional.