


 Although the idea of drilling holes through the walls of your house may not be particularly attractive, installing a security camera is one of the critical points of your home security plan.
Luckily enough, installing a security camera in your home may be easier than you think. Let’s take a look at a step by step guide to do it quickly and save you from the stress of this operation.
Step one: Know your cameras
Although the majority of tutorials and guides can be used to install almost every camera you can buy nowadays, it is essential to know exactly what type of Home CCTV you are going to set up. In other words, the installation process may vary according to your camera system.
By having an accurate idea of what you are going to do, you can save time and stress. You can also get ready in advance by watching tutorials on the Internet or reading guides just like this one.
Step two: Know your home
Let’s be honest: it is impossible to monitor every square inch of your house. This means that you need to prioritize some areas, and you must plan where you want to install your cameras.
It is advisable to draw up a diagram of your house to decide how to proceed. This is also essential to understand if you need indoor or outdoor security cameras or even both.
By planning the position of your cameras, you can maximize the effectiveness of your home security plan. Experts usually advise installing CCTV in large common spaces, driveways, stairways and of course your front and back doors.
Step three: Prepare your tools
Your camera is not going to install itself. You will need a variety of installation tools and materials, such as screws, cables, anchors and others.
You may want to know in advance what kind of tools you are going to need. Otherwise, you may risk to not be able to complete your camera installation because you miss that one single but essential nail to fix your cable.
In some instances, your security camera may come in an all-included package. This provides everything you will need, from mounting brackets to screws. These packages are very useful, and you may prefer to buy them if this the first time you are engaging in video security installation.
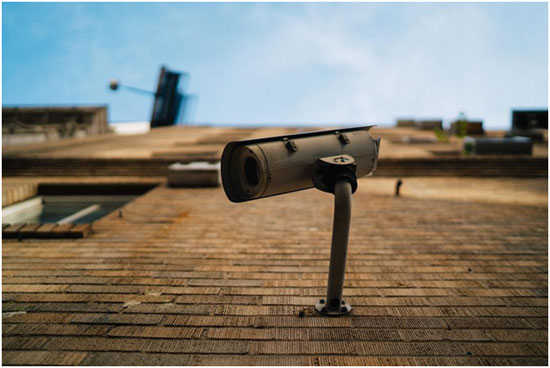
Step four: Study your walls
Your camera should be installed up high, from where you can have a broader view. It should cover as many entries as possible, and never be pointed directly to a light source.
It is always a good idea to put your camera near a power source, even if it is a wireless CCTV.
Last but not least, when installing a security camera in your home there are two important places where you must not put your CCTV system: below a window and in your bathroom (unless you specifically need to monitor this room).
Step five: Let’s install that security camera!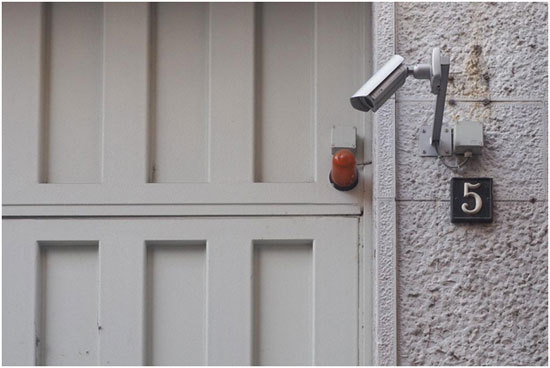
It is time to start. First, drill the required number of holes to screw your security camera on the wall. When you’re done, you can point your CCTV in the right position and right angle.
At this point, you will finally be ready to attach your camera to a power source. As a general rule, your camera must come with a power adapter to be plugged into your regular wall socket.
Step six: Start recording
Before you can start recording from your camera, you need to connect your security camera with a BNC (Bayonet Neill-Concelman) cable. These are very easy to use since they have two identical sides and only need to be plugged into the appropriate port.
Depending on the type of your camera, you can connect it to your computer through a USB cable or even wireless. In this last case, you may need to install dedicated software on your computer.
Don’t forget to connect your camera to your DVR that will record video in a digital format to a USB flash drive, disk drive or SSD memory. You can use a BNC cable or an HDMI cable, depending on what your CCTV system requires. The number of cameras you can connect depends on the available inputs of your DVR.
Step seven: Last touches
If you want your home security system to look professional, you should spend some time to check the last things. This includes hiding your wires. You can use a staple gun, or even hide them under a rug.
You are now ready to test your home security system! Remember to check that the camera, DVR, and your monitor are all hooked up to a power supply and turned on.
A DIY installation is undoubtedly less expensive than seeking assistance from home security companies. By following these easy steps and your camera’s installing manual, you can get perfect results!