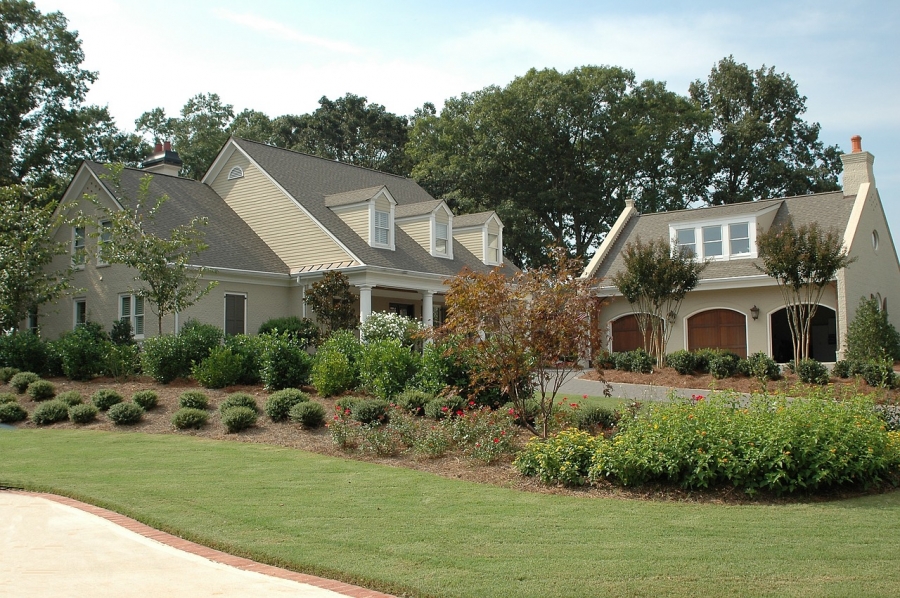
Downsize Turf Area.
HOAs that were built with large turf areas require intensive mowing, fertilizing, edging and watering. Turf is a landscaping black hole. Converting turf to hardscape or planting beds will have a huge impact on water and maintenance bills.
Simplify.
When choosing plants and bushes, go for native species that are drought and pest resistant. Place them carefully according to sun, shade, space and pruning needs.
Turfscaping.
Avoid planting grass in areas that are shady, too dry or wet, or too steep to be mowed. Use a ground cover and other plants better suited to these areas.
Mulches.
Mulches around plants reduce weeds and conserve moisture. Gravel and bark mulches require little care beyond pulling or spraying the weeds that grow through.
Ferti-little.
Plants kept at minimum fertilization levels need less pruning, mowing and water.
Tree Beds.
Tree beds speed mowing and protect the trees from damage.
Edgify.
Use edging between the lawn and gravel walks, drives and tree beds to reduce trimming.
Paths.
Where foot traffic is heavy, pave areas with concrete or spread compacted crushed stone or gravel.
Fencing & Hedging.
Hide unsightly views or gain privacy with a fences or low-maintenance hedges.
Tree Pruning.
Selected pruning allows wind to pass through without causing damage. Prune lower limbs and thin branches to let more light reach the grass.
Quality Plants.
A cheap plant is not necessarily an inexpensive one. Treating sickly plants takes time and money. Shop at reputable nurseries and garden centers and don't buy plants without inspecting them first.
Step-by-Step Improvement:
1. Use a Professional Landscape Architect. There is much to consider in plant selection and lay-out. Professionals know the flowers, plants, tree and bushes that work best in your location. If the objective is to lower maintenance and water costs, the landscape architect will design it that way.
2. Clean up & Removal. Remove debris, old flower beds and other unsightly material. Prune trees and overgrowth from shrubs and trees.
3. Install Paths & Walkways. Straight walks make mowing easier. Keep the grass border trimmed straight along the edges. Walkways that are flush with the ground with no edging material are easier to maintain than those with flower borders or other low edging plants.
4. Install Turf First. If you are using seed, the turf needs to get started first. If you are using sod, it can wait.
5. Install Plants. Slow-growing plants and those needed to establish foundation plantings go in first.
6. Plant Trees. Trees, like lawns, are major landscape features and should be started early in landscape development. Plant trees to form a foreground and background.
Proper fertilizing, pruning, mulching, and caring for plants is very important from the beginning. Plantscaping involves a conscious plan to introduce draught tolerant native species, reduce turf areas and simplifying the design. Take advantage of reduced work, costs and increased beauty.
For more innovative homeowner association management strategies, subscribe to www.Regenesis.net.


