


Tiling might seem like an impossible DIY project, but it doesn't have to be. In fact, beginners can even take on a tiling project, as long as they have the right tools! DIY tiling can save you a lot of money, so before you hire a pro, give some serious thought to whether you can take it on yourself.
Laying tile like a pro does require some special equipment though. You'll want to make sure you're prepared with the following tools to make your tiling job look professional.
1. Rubber Buckets
Sure, you could use a plastic bucket for your mortar, but a rubber bucket is much easier to clean. Even if the mortar dries, you will get a rubber bucket clean much easier than a plastic bucket.
2. Mortar Mixer
A mortar mixer will properly mix your mortar and ensure that no air is trapped in the mortar, which could decrease its strength. Mixers can also be used to mix other adhesives, resins, and paints. Be sure you use the right size paddle for the amount of mortar mix being used.
3. Trowels
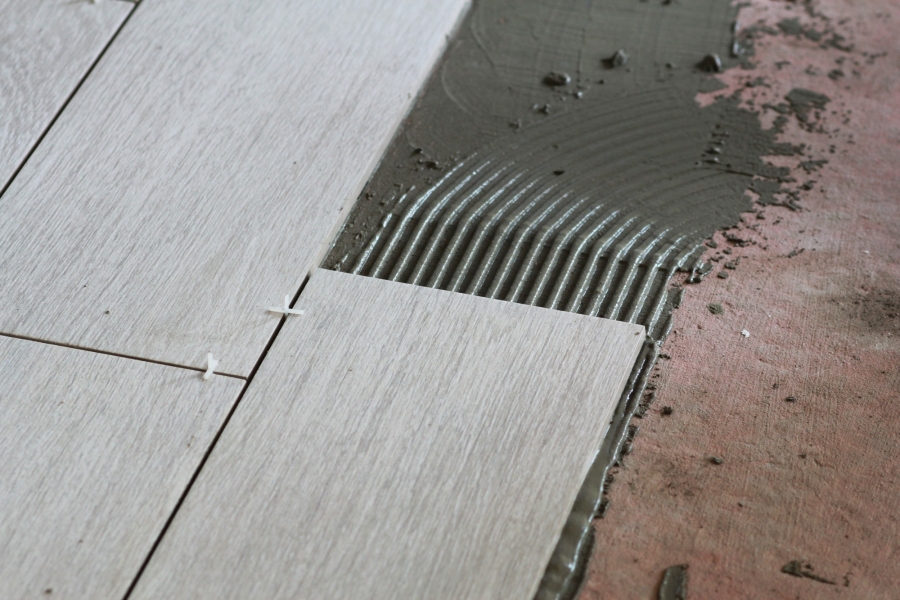
Trowels are used to apply the mortar that will adhere the tiles to your surface. Choose the right size of trowel so you get proper coverage and also pay attention to the shape. U-notched and square-notched trowels are two common types, so it's important to have both on hand.
4. Manual Tile Cutter
A manual tile cutter allows you to cut with just one hand and makes precise and clean cuts. Manual cutters are light and easy to carry and are what you want when you are working with glass mosaic tile in particular, as it won't affect the quality of the glass surface.
Look for a cutter that has different cutting measurements and you should also consider a double guide cutter.
5. Tile Saw
If you want to make precise cuts on your tile and make sure they all fit together perfectly, an electric tile saw is what you need. This guide has more information on choosing the right workforce tile saw.
6. Tile Spacers
Tile spacers allow you to get perfect spacing between each of your tiles. 2mm tile spacers are the most commonly recommended, but the size you need will depend on your tile and what you are tiling. Make sure your spacing is precise and don't rely on a quarter or other things lying around your home like many DIYers resort to!
7. Tile Leveling Kit
A tile levelling kit helps ensure that the tiles are all installed at the same height and are level. These kits also include tile nippers, which help you distribute the weight of the tile and make sure that it is level when it adheres to the mortar.
8. Grout Floats
Last but not least is a grout float. Without grout, your tile project will appear unfinished. The grout will fill in the spaces between the tiles and locks them together. The grout float is the tool used to apply the grout to your tiles. Some are meant to get to hard to reach areas (like corners) and others are better for spreading grout on a larger area. It's worth it to have multiple floats for different purposes.
Laying Tile Like a Pro
Once you have all of these tools, you'll be laying tile like a pro in no time. The right tools often make all the difference in making the project go smoothly and resulting in satisfaction with your work.