


Home renovations if professionally done can be expensive for homeowners. Here are some of the home renovation projects that can be easily done at a very limited budget. Save your money and no need for you to be an expert woodworker to create these awesome projects for your home.
1. Crown molding - When installing a crown molding in a room, it can be done easily by using hand tools. It increases the visual aspect of a room.
Materials and tools you will need:
Polymer molding, Tape measure, Drill, miter saw, Caulk gun, knife, nails, sandpaper, rag, polymer adhesive, 2" drywall screws, Vinyl compound
The first step is to measure the walls of the room and use markings to make sure the moldings have the right fit.
Next step is to hold a section of the molding and use a finish nail at each mark; it will hold the molding while the adhesive is drying.
Cut the molding by using a miter saw. Make sure to cut it at 45 degrees angle.
Then check the uncut ends of the molding pieces before finally installing it. You can cut the square ends at 90 degrees angle using a miter saw.
Next is to sand the side of the molding that will come in contact with the wall and ceiling by using the sandpaper.
Then you can wipe away the dust and use the polymer adhesive along the sanded side of the molding.
Install the molding at the corner and use the nails for support. At both ends of the pieces, drywall screws will be used to secure it properly. Install the other molding pieces and let the polymer adhesive completely dry.
Finally, remove the nail and fill the holes with the vinyl compound. You use caulk to fill up any gaps or screw holes, make sure to evenly smooth it out for a perfect finish.
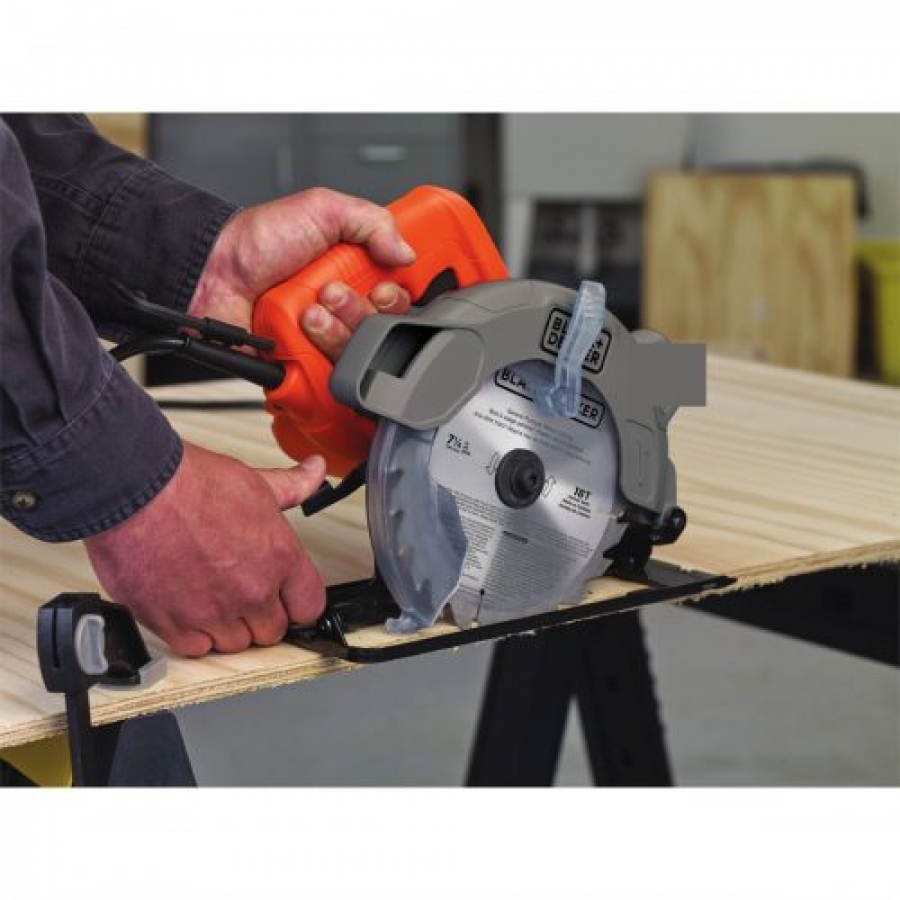
2. Subfloor Panels - Subfloor panels can be easily installed in every home just like puzzle pieces. It is important to manage moisture problems, especially in basements. It will complement laminate or wood floors as well.
Materials and tools you will need:
Longboard, measuring tape, circular saw, miter saw and jigsaw, Carpenter square, hammer, wall spacers, tapping block and pull bar and mask.
The first step is to clean the floor and install the wall spacers by carefully measuring the wall length and panels.
Use the carpenter's square to check the first corner.
Then lay the first panel flat against the spacers and do the other by connecting it into the groove of the other panel. For the last panel make sure it is correctly measured. You can install it by inserting the tongue of the panel and levering it accordingly into place. Make sure to pull it in place with its joint being secured by a pull bar.
Check out the first row before beginning the second row, make sure it is flat and there are not areas that are uneven, it can be adjusted by moving the shims under the panels.
Start the second row and cut the panel in half and install it by following the procedure for the first row. Then install the succeeding rows accordingly and always checking for the flatness or uneven areas.
Finally, when working on the last row, make sure to trim the side that contacts the wall to fit the space of the previous rows and the wall spacers that has been used. Connect all the joints by using the pull bar and remove all the spacers.
3. Book ledges - Book ledges can be installed in a room to store your favorite books. It is safe, unlike bookshelves that can be tipped over and it can be unsafe and pose as a danger to small kids or children around the house.
Materials and tools you will need:
Miter saw (check out the best miter saws in here https://perfectcutsandmiters.com/best-miter-saw-reviews/, wood glue, wood screws, wood board (length depending on your preference), sander, table saw, tape measure
The first step is to cut the wood board, depending on the space you will be using.
Cut the board in two lengthwise. One slice will be the back side and the other one will be positioned at the bottom.
Then you can assemble the board and set it up by using glue and screws in the back to attach it. You can pre-drill the wood so it will not split. You can attach the front piece with a screw or finish nails.
Cut the wood again and assemble it according to the measured length for the ledges and cut them with the miter saw.
Finally, the book ledges can be painted or stained. It can be attached to the wall by drilling holes in the back and screw them with the wood screws.


