


We had just moved into our first new home with all of our plans to redo the floors and walls and lighting. We had decided to begin work in the upstairs areas and work our way down, with our do-it-yourself construction beginning the next morning. I was in my sock feet in the family room downstairs, watching the rain come down outside. I took a step closer to the sliding glass door, when suddenly, SQUISH! The carpeting was saturated with water that was leaking in from outside! What a mess! I ran outside, thinking that one of the gutters had given way, only to discover that the problem was inadequate drainage. The gutters were not carrying the massive amount of rain water far enough away from the house. Needless to say, the next morning we started our work in the downstairs family room.
When we pulled up the carpeting, we discovered that the water leak of the day before was not the first of its kind. Apparently, the problem had existed long before we bought the place. We knew that before we put new flooring down, we had to fix the problem of poor drainage outside. We went to our friendly neighborhood hardware store to buy the supplies we would need.
The original owners had used all roofing and gutters with aluminum downspouts and aluminum extenders to direct the water away from the house. Unfortunately, the redirect sections had been flattened from years of being mowed over. Surface drainage was not the answer, so we looked at installing an underground system.
To begin with, we stepped away from traditional aluminum and investigated the flexible vinyl products. We chose green, flexible downspout extenders that would fit both 2”X3” and 3”X4” downspout elbows. The extenders come with preset rivet locations, making it simple to attach the vinyl extender to existing aluminum elbows. A mechanical hand riveter will work wonders on a job like this. We decided on the green vinyl to help it blend in with the green in our plantings. Next, we picked out 25’ lengths of interlocking, flexible hosing that matched the diameter of our vinyl extenders. Here are the steps we took to improve our drainage:
We began by attaching the vinyl extensions to the existing aluminum elbows. We were concerned that the two rivet holes provided in the extension pieces would not be enough, so we drilled additional pilot holes to allow rivets all the way around. This made for a nice, snug fit. We then dug 25’ trenches starting them three feet away from the foundation of our house, extending in the direction we wanted the water to flow. By starting your trench three feet away from the foundation, you avoid disturbing the vapor barrier, which helps to protect the foundation itself from water damage. It is always a good idea to contact your local utility service before digging in your yard, to ensure that you are not digging where your water lines or electric lines are buried.
We dug the trenches to a depth of no less than nine inches, accounting for the three inch diameter of the flexible hose. This will give at least six inches of soil cover for the buried hose. While digging, it is essential to maintain a consistent grade with the trench. Remember, water flows downhill, so the hose must lie at an angle that tilts away from the house. A good rule of thumb is to maintain a slope away from the house that is no less than one inch per one foot of grade for a distance that is no less than eight feet. For our project, with a 25’ buried hose, that would mean 24 inches down at the far end from the start of the hose. Luckily for us, our yard has a natural slope, which meant that we did not have to dig that deep. The height adjustment was accomplished for us due to the slope of our yard.
We laid the flexible hose in the trench and tested our work by running a hose at the top of the gutter hole. This helped us check the slope of our hose and identify any problem areas.
We back filled the trench, making sure that the surface of the re-filled trench was slightly higher than the surrounding ground. The soil will naturally compact itself, so additional soil elevation will prevent dimples or holes from appearing. We also tamped the soil, once the trench was filled, to prevent runoff and erosion.
The final step would typically be application of grass seed to the bare soil. We decided to take advantage of our digging by installing some of the cover plants we had intended to grow. Their presence immediately helped to disguise the green downspout extensions and to beautify a portion of our property that we were planning on improving. We did end up sprinkling some grass seed on the sections farthest from the house, where flowers, grasses, and shrubs were not planted.
Looking back, it was extremely hard work, digging the trenches and installing the plants within the same weekend, but the results and benefits were well worth the effort. It has been several years since our flood, and so far, the water has been kept at bay. Our plants have grown enough to completely hide any portion of the extensions, and we still receive compliments from our neighbors on the beauty of our landscape. Who would have thought that initial heartache could offer an opportunity for such glorious results.
How To Extend Your Downspouts To Keep the Water At Bay
Posted On Tuesday, 28 June 2022 20:58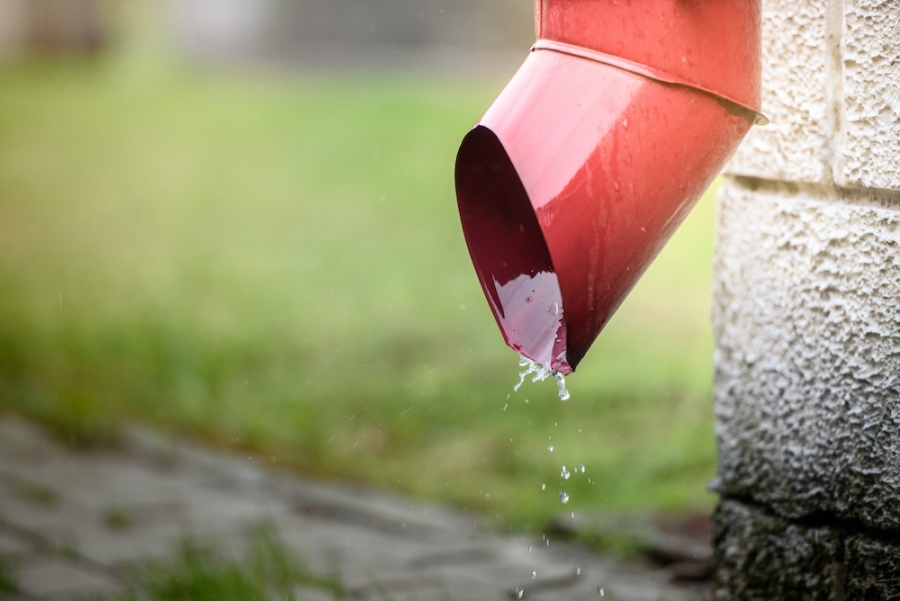

Agent Resource


From buying and selling advice for consumers to money-making tips for Agents, our content, updated daily, has made Realty Times® a must-read, and see, for anyone involved in Real Estate.