


Tiling a floor is a popular DIY project, because it’s not too difficult, as long as you have prepared the floor first. Not preparing the floor before you start can have disastrous consequences on the end result. Read this gude to make sure your dream tiling project comes true.
Required equipment:
Tape measure
Tile spacers
Chalk
String
Pencil
Spirit level
How to find the centre of the room
You might think that you can just start laying tiles from the edge of the room until you’re done, but rooms do not tend to be completely square and symmetrical, so you would most likely end up with an irregular pattern that looks untidy. You will actually start laying the tiles from the centre of the room, but first, you need to know where this is.
The centre of your room is important because it determines the positioning of all of your tiles. The first tile you lay down is the ‘key tile’, so it is essential that you put it in the right place – right up against the centre of the room.
- Measure one wall and locate the halfway point. Mark this with chalk and repeat with the wall opposite.
-
Draw a line between these two points.
-
Tie 1m of string to a pencil and get a helper to hold the non pencil end of the string on the midpoint of one wall.
-
Then stretch the string taut and draw an arc.
-
Do the same with the opposite wall and then draw a line across the floor between the two points where the arcs meet.
-
Where this line meets your first midpoint line between the opposite walls is the centre of your room.
-
If your room isn’t a regular rectangle shape then you’ll need to split the room up into zones. Make lines based on important room features, like fireplaces.
How to prep each floor type
Concrete: Tiles can be laid directly on concrete floors. Give it a clean to remove dust and debris and check to make sure the floor is level with the spirit level. If it’s not level, then use some leveller and wait for it to dry. Once the concrete is levelled and clean, pour primer onto the tiling area, diluted to the manufacturer’s instructions, ready for the tiles to be laid.
Wooden floorboards: You can’t lay tiles straight onto wood, so you’ll need to put down some high-quality plywood first. Fix it with countersunk wood screws at even intervals. Make sure the screws are 2.5 times a thick as the plywood, but not long enough to go through the otherside of the wooden floorboards.
Old tiles: You can lay new tiles right onto old tiles, providing the old tiles are all in good condition and not broken. Replace any broken tiles, clean them and lay down tile on tile primer, ready to lay down your new tiles.
Centre your key tile
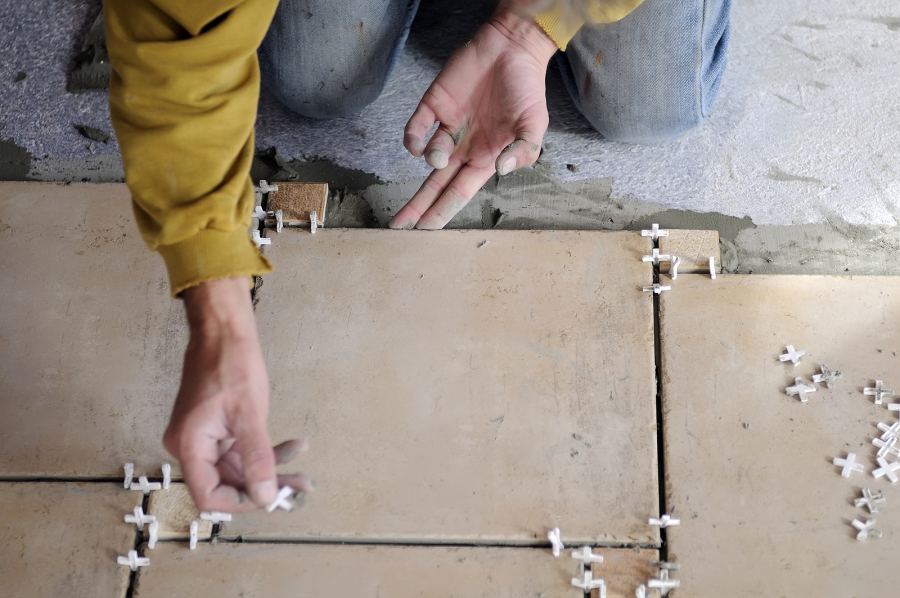
- Start dry laying down tiles in one of the four directions from the centre of the room until you reach the opposite wall.
-
Use tile spacers to ensure you take into account the gap between them needed for the grout. Leave a half tile gap at the edge.
-
Do the same with the other three lines of tiles to the other three walls.
- Your floor is prepared and you now know where your tiles are going to be laid. You have laid the groundwork for a successful tiling job. Now get cracking (not literally).