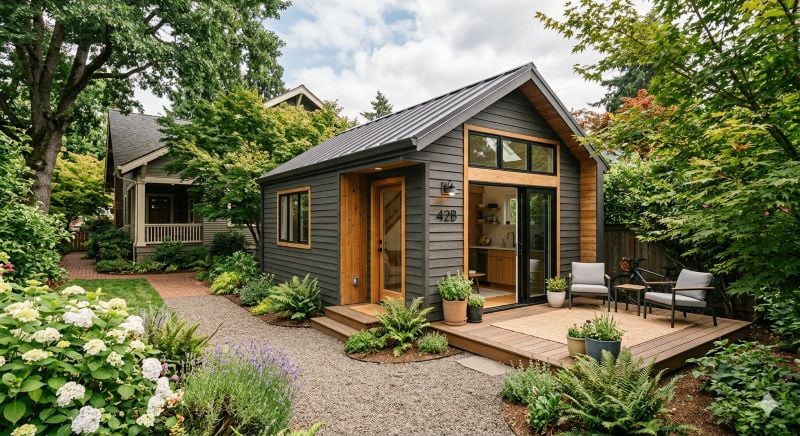
Photo © Karen Foley - Dreamstime.com
The golden rule of Real Estate has always been location, location, and location. And while this still holds true today, the meaning of “location” has shifted a little. As with everything else in of our daily lives, the Internet has changed how Realtors find customers and buyer find houses.
Since so much research is done through apps and websites, first impressions of homes are often developed long before a potential buyer has stepped foot anywhere near a home. Which makes taking great real estate images a critical skill for today’s sellers.
Whether you are a professional photographer looking to tap into this market, or an entrepreneurial real estate agent looking to expand your client services, it is important to understand the how’s and why’s of good Real Estate Photography.
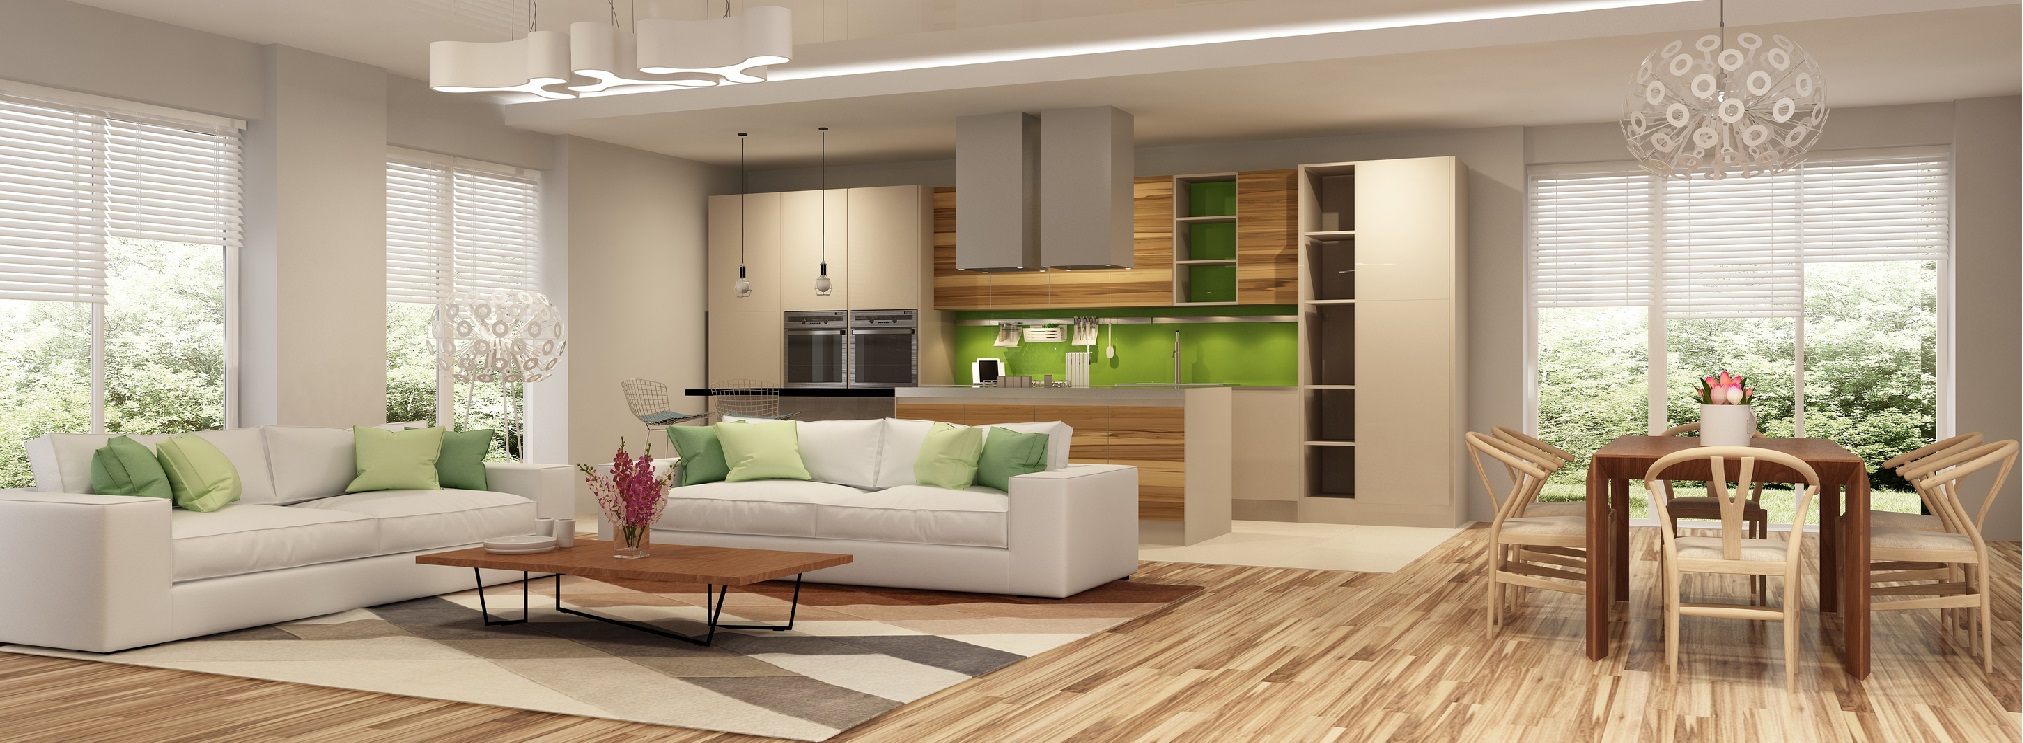
Photo © Yuliya Vadi - Dreamstime.com
Staging
Professional Real Estate agents understand the importance of staging a home for sale. This usually involves removing clutter, minimizing personal mementos and trinkets, and setting out “homey” touches throughout the property. But when it comes time to taking pre-sales images, it is just as important to stage the lighting.
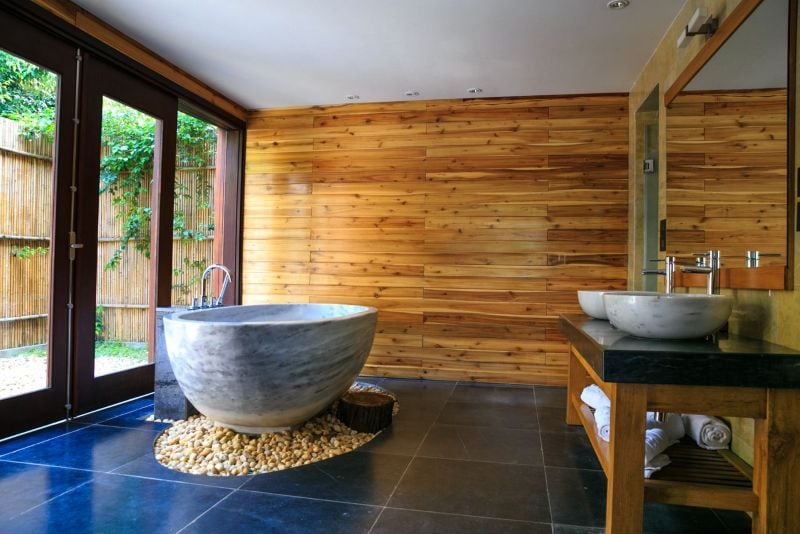
Photography is often referred to as painting with light, and photographers often use a technique known as selective lighting to draw focus to an area of an image. Think about using lighting as a method to accentuate the best selling points of the house or apartment. Add a lamp or spot to any unique feature, inside or outside, you want to “pop” in the picture.
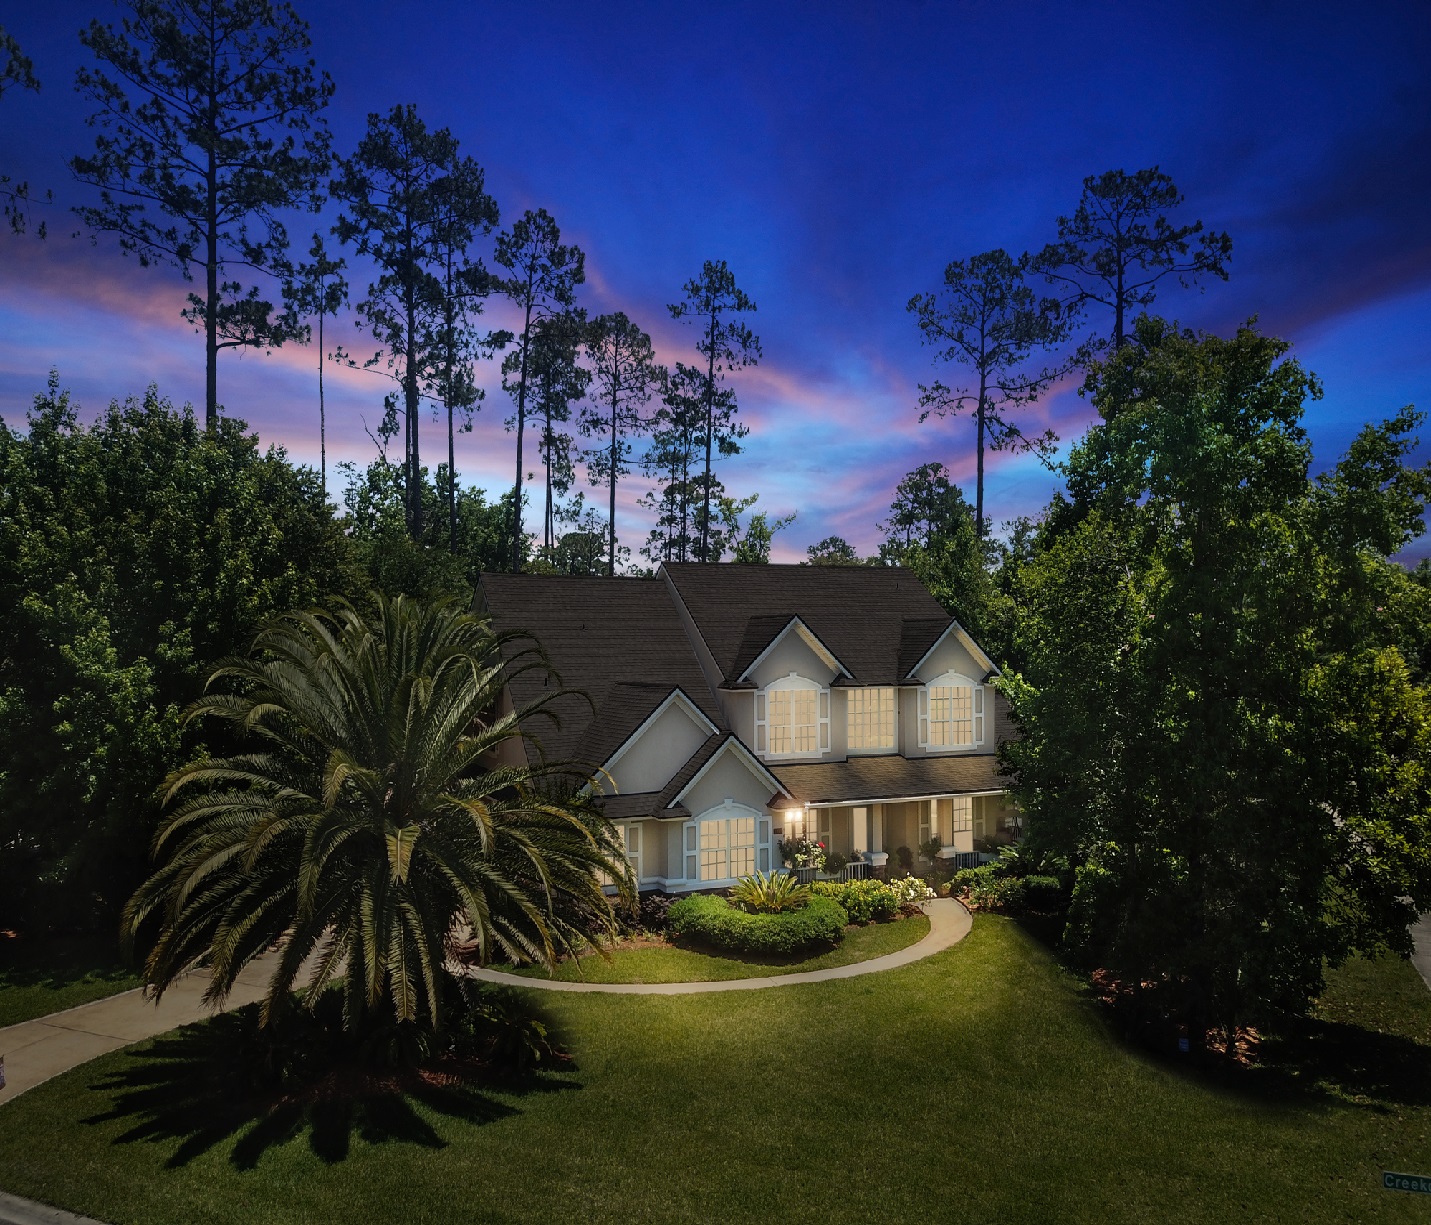
Photo © Hunterbliss - Dreamstime.com
Another technique to setting where you want a potential client to look is to control the focal point using the Rule of 3rds. Imagine dividing the image into 3rds using two vertical lines and two horizontal lines. Focusing the image with the most important features falling on or near the intersecting points of those lines will naturally draw a viewers attention to those points – try it, it really works!
Architectural Lighting
Then think about the overall lighting for the images. You will want soft, natural light so that the house looks “real” and inviting. Shoot using natural daylight, but look for a day that is overcast or cloudy. This will provide great, diffused lighting for even coverage without “blowing” out the windows and doors. Now add spots, lamps or flash to the shadows to fill the dark areas and you should have a well-exposed image across highlights and shadows.
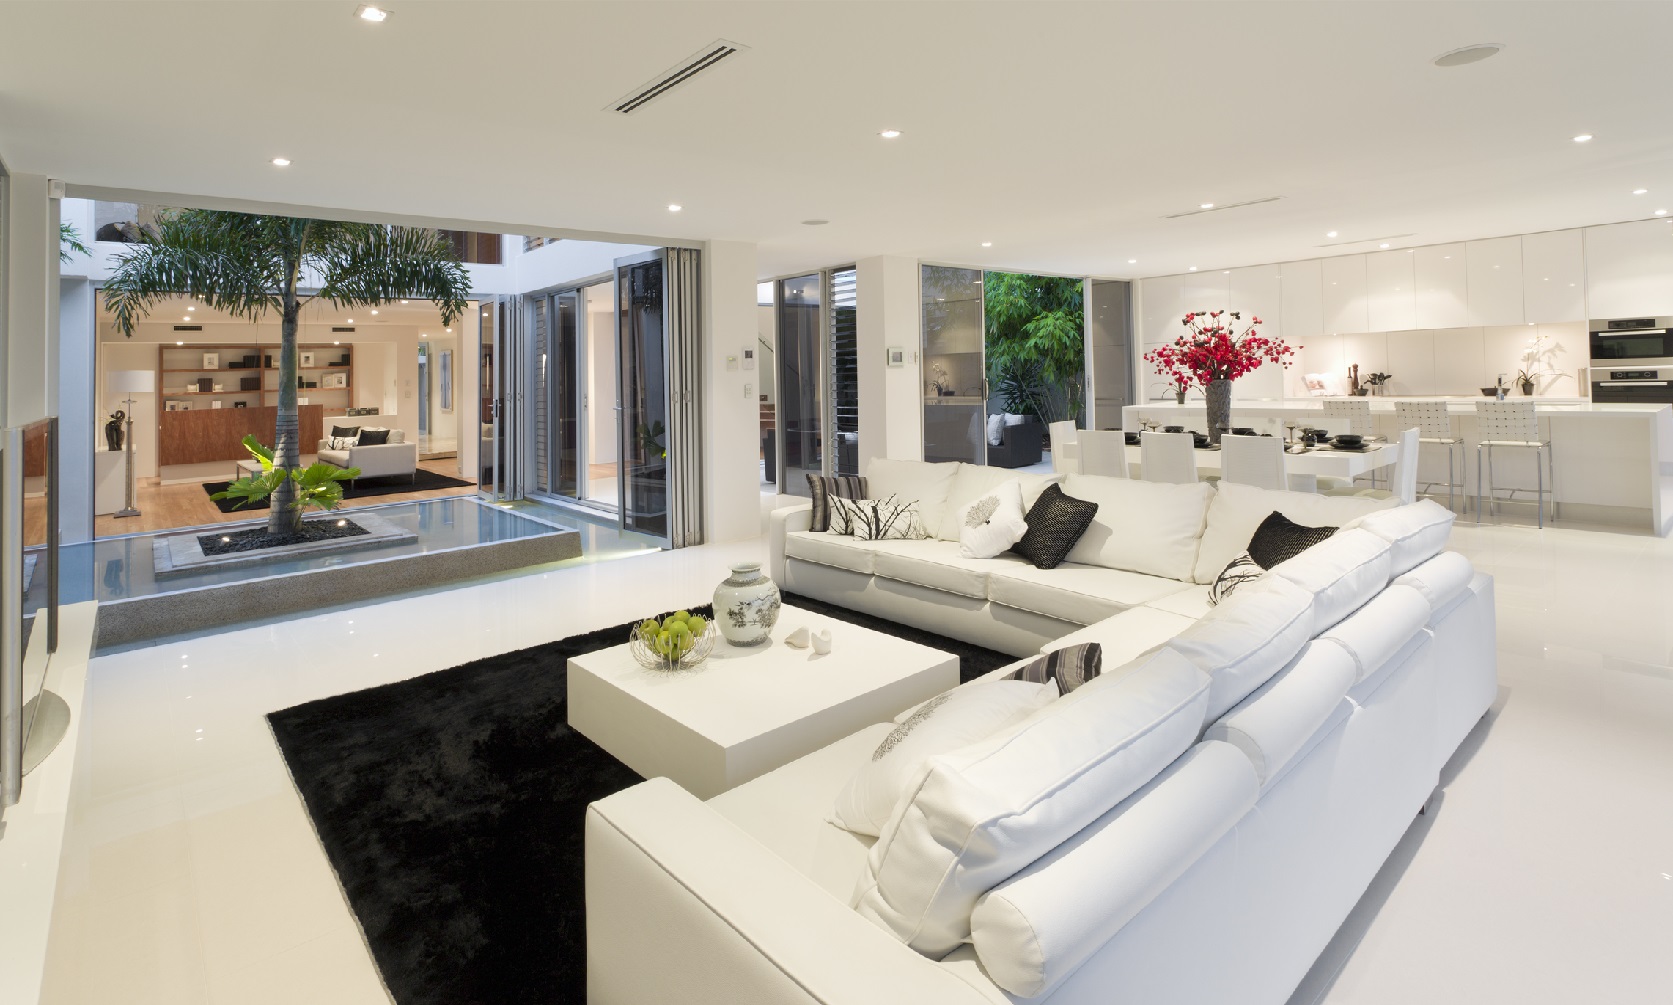
Photo © Epstock - Dreamstime.com
If you are new to photography and still having problems achieving the right exposure across the image, ask a friendly photographer about making shadow and highlight adjustment in post processing software to “fix” the problem.
The Technical Stuff
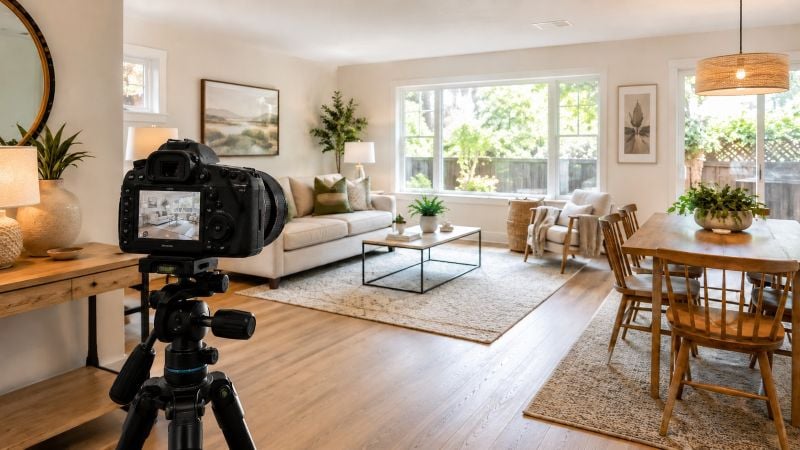
Professional property images are not going to be made using a cell phone or point-and-shoot camera. While you don’t need to invest in top of the line, expensive gear, you should plan on using a DSLR camera with interchangeable lenses and manual controls for results that will help, not hurt, your efforts.
Capturing a room requires choosing a wide-angle lens (my Canon 16-35 mm is my preferred choice) to provide a field wide enough to go wall to wall. To achieve good depth of field across an entire room, shoot in the f/7.1-8 aperture range, but shoot as wide open as your lens permits for shallow depth of field when focusing on architectural details to make them pop.
In real estate pictures, you usually want to highlighting features lower than in traditional landscape photography. To capture small details, shoot with the camera positioned lower than normal. Try around 4’ for very low areas like in a bathroom or around a fireplace, and at about 5’ for average room details.
Pull out all the tricks
All of these tips will produce high quality photos, but now it’s time to get creative to make the property really stand out from the competition. All of these will require either advanced skills or the assistance of a professional, but the results are worth the effort.
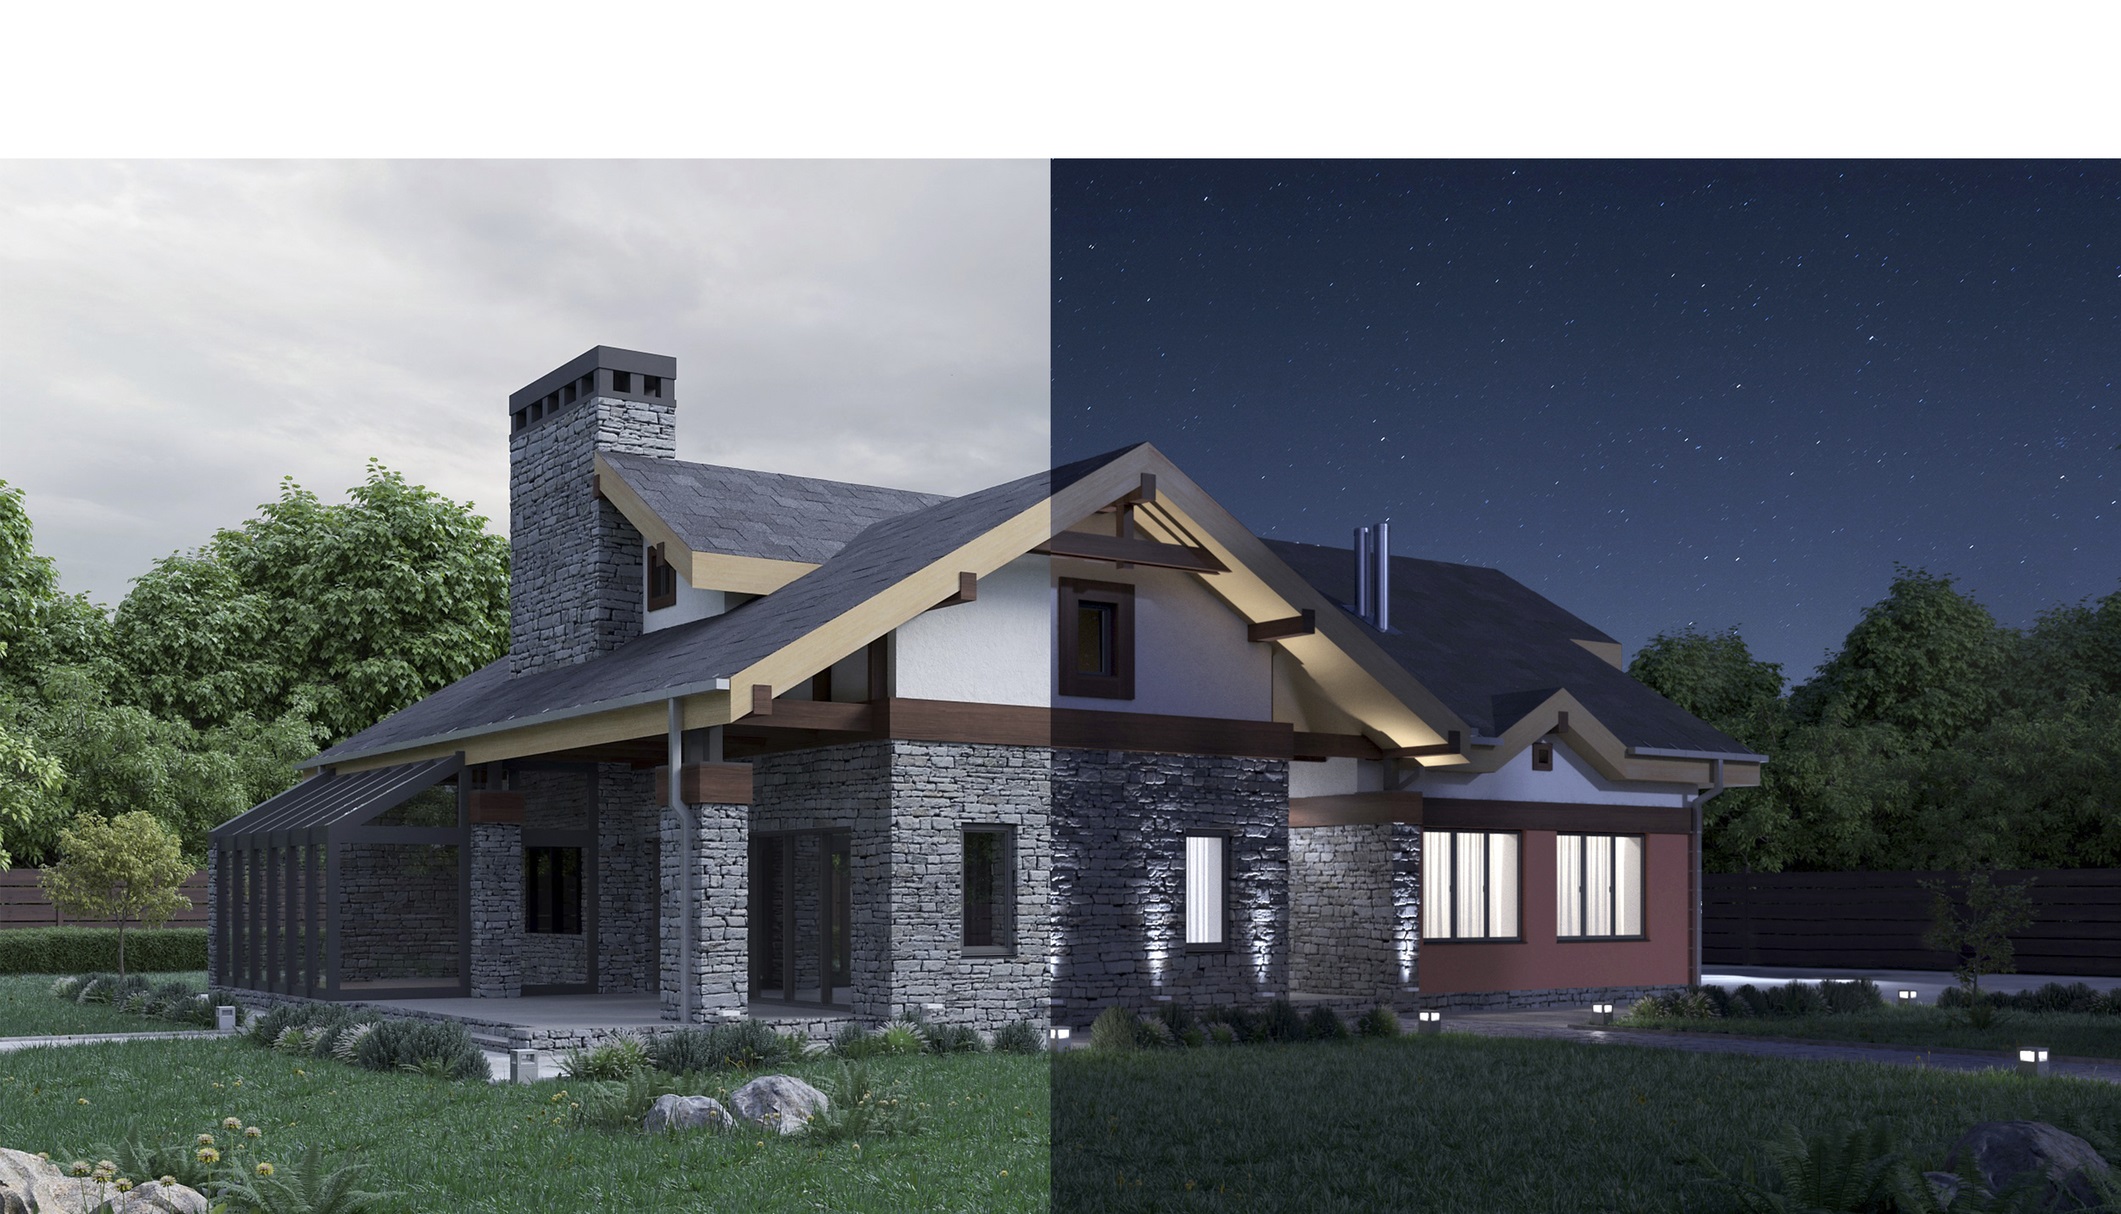
Illustration © Oleksii Spesyvtsev - Dreamstime.com
Day to night shots are produced by using ½ of an image shot during the day and ½ of an image shot at night side by side to show how stunning the property looks at all hours. It is important that the night photo is produced with dramatic interior and exterior lighting for the best results.
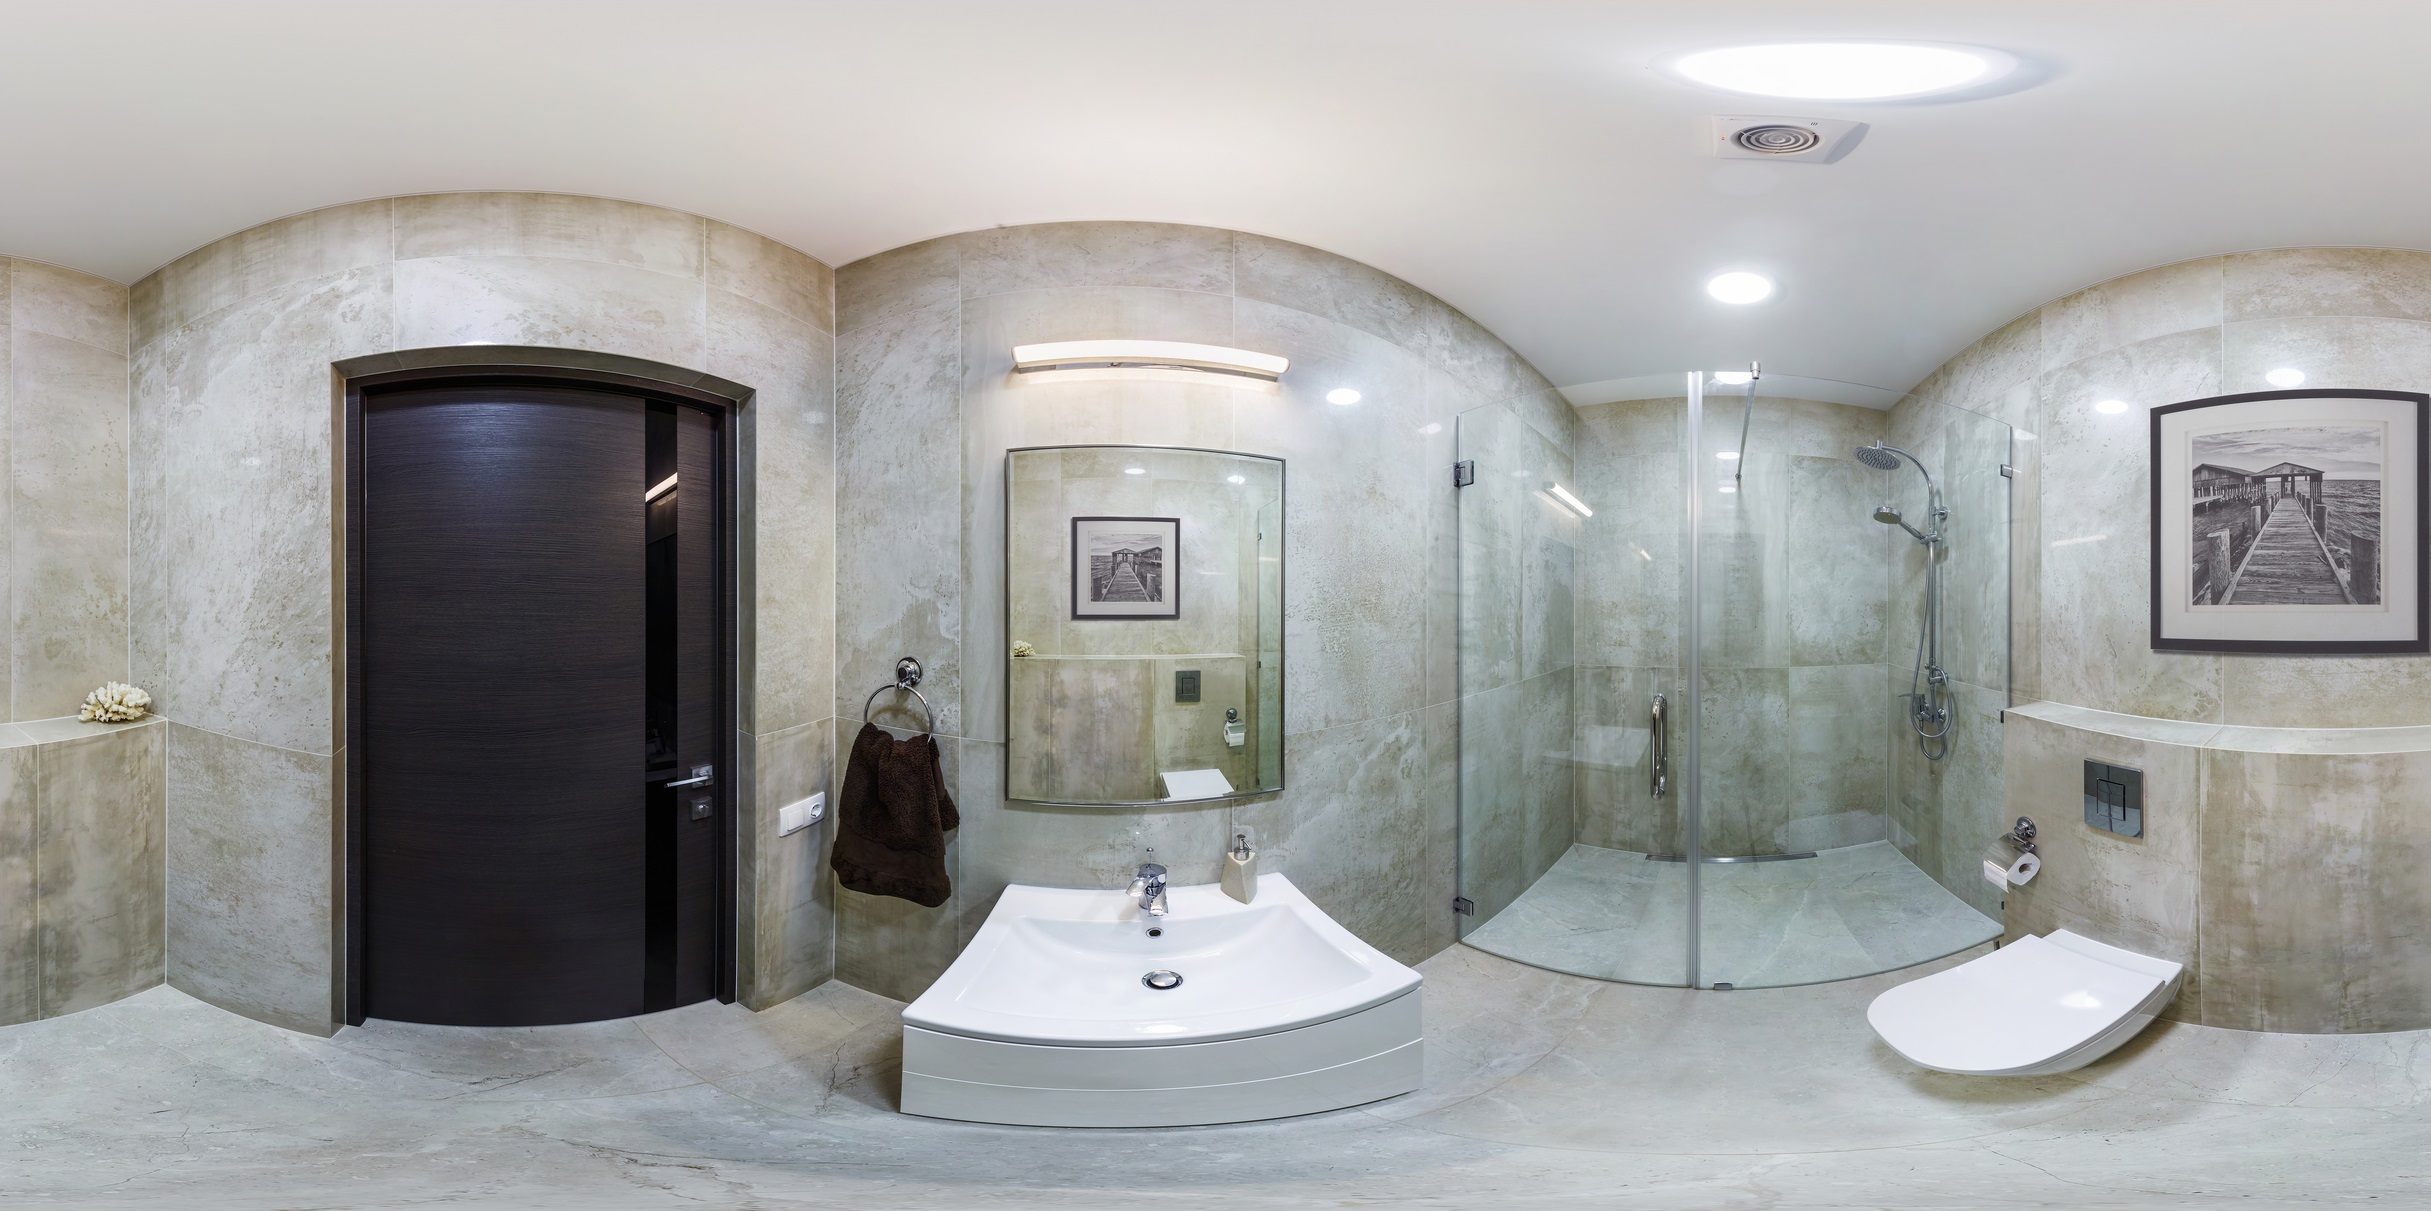
Photo © Ivan Tsyrkunovich - Dreamstime.com
360° photos and videos are produced using specialty equipment, or produced with advanced post processing techniques, and are usually viewed with a Virtual Reality Player. As the name implies, they allow the user to “look around” the house interactively giving a much better 3-dimensional feel for the space.
Drones can be flown inside and out producing images and videos that provide better visualization for unique architectural features, landscaping, property, and surrounding neighborhood. They can also make it hard to hide issues like the landfill or industrial site around the corner, so use cautiously.
And finally there are specialty software or services that provide a 360° walk-through capability that is like a combination drone and 360° image showing the flow through the property and providing unique perspectives to the user interactively.
Buying and selling a home can be a nerve wracking processes for all involved, but thanks to these tips, getting and seeing great real estate images won’t be part of the stress.
Karen Foley is a freelance photographer and frequent contributor to dreamtime.com. See more of her work at karenfoleyphotography.com.